Are you a gardener looking to save lots of space when growing larger plants? Do you have limited space for your kitchen garden? A hydroponics bucket system is a solution to this. This system maximizes both space and water efficiently. In this post, we’ll look at what you need and how to set up a hydroponic bucket system at home.
*This post contains compensated links. Find more info in my DISCLAIMER. As an Amazon Associate, I earn from qualifying purchases.
Want to start a hydroponic garden at home easily? Check out our recommendations for Best Hydroponics Starter Kits for Beginners.
What Is A Hydroponic Bucket System?
A hydroponics bucket system also referred to as a Bato bucket system, is a hydroponic system where crops are grown in buckets without soil. A Bato bucket system is super flexible, allowing home growers the opportunity to quickly and easily grow more plants. All you have to do is add more buckets.
Before Getting Started
Planning and preparation are the keys to any project. This is no different when planning your hydroponic garden. Before building your own hydroponic bucket system, there are a few important points to keep in mind in order to have a successful crop.
Grow Medium
The best media for bucket hydroponics are media that are good at wicking. This ensures that your plants are properly hydrated. Either too much or too little can create problems for the plants. Some of the recommended grow mediums include hydroton expanded clay, coco coir, perlite, and vermiculite.
Planting
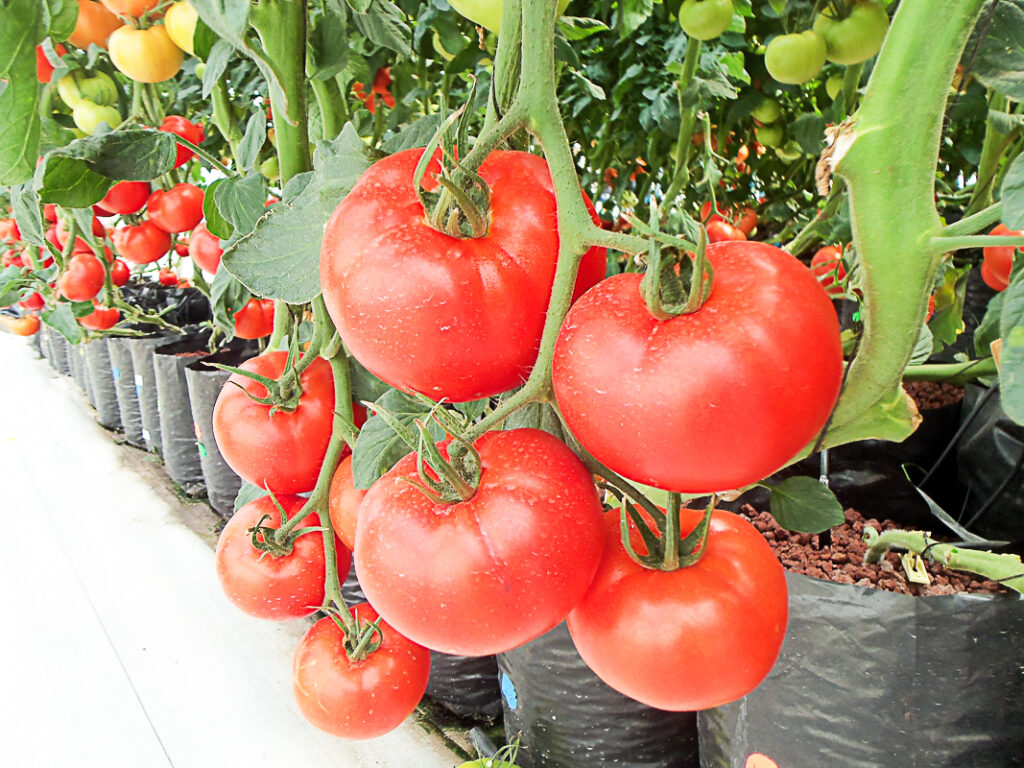
The system is flexible in such a way that you can use one or more buckets for your crop. It’s important to remember for larger plants like tomatoes, one plant is grown in each bucket. This allows plenty of room for strong healthy roots. With smaller plants, it’s ok for two or three to be planted in one bucket.
Location
The system can be put up in greenhouses or indoors where there is adequate lighting and space or it can be set up outdoors. Trellises should also be provided to some plants because they may become top-heavy thus the trellises will provide support to the plants.
Misc
When compared to other hydroponic systems, the Dutch bucket hydroponics system is the best because it is used to grow large plants, is cost-effective, uses less water and space, and produces higher yields. However, its main challenge is that there may be blockages in water lines when the growing medium passes through drippers.
How Do You Setup A Hydroponic Bucket System At Home?
Setting up a hydroponics bucket system is an “easy” project so long as you have the right equipment. If you can set up a drip hydroponic system on your own then a hydroponic bucket is an easy task.
Before getting started here are the tools and equipment you’ll need:
Tools
- Hand Drill
- Hack Saw
- Marker
- Drill Bits
- Kettle
Equipment
- Dutch Bucket
- PVC end piece
- Shade netting
- Black irrigation pipe
- Hook screw
- Mounting bolts
- Submersible pump
- PVC Pipe
- PVC joint
- Irrigation drip tube nipples
- PVC and irrigation elbows
- Reservoir
- Growing medium
- Stands
Building Your Hydroponic Bucket System
Stands are needed to rest the Dutch or grow buckets on. When setting up double bucket hydroponics, you will need two buckets for every planting pot, the inner and outer buckets.
The outer bucket gets the overflow in and you need to drill a hole for the overflow. You can drill a hole, 20mm high, to prevent the irrigation elbow from touching the bottom of the bucket.
Cut the black irrigation pipe into pieces long enough to go almost to the center of the bucket. To easily insert the elbow in the pipe, you can soak this in warm water.
To ensure that the pipe is easily inserted inside the bucket, heat the Dutch bucket and the pipe again and insert the pipe as deep as you can to ensure no leakage occurs. Also, heat the pipe that is still sticking out of the bucket and put the elbow outside.
The primary function of the inner bucket is to hold plants and the growing media. This bucket should have good drainage and should prevent the growth medium from falling into the outer bucket. You can accomplish this by drilling numerous small holes at the bottom of the inner bucket.
Cut one piece of the shade netting and place it inside the bucket and the two buckets are now complete.
Finishing Up
Set up irrigation by mounting the system’s overflow. Start by cutting the PVC pipe into proper sizes. Link two of the cut pieces using a joining piece and weld them using the PVC weld glue.
Drill holes for the overflow can enter the PVC pipe and add the end piece to block one side of the PVC pipe using PVC weld. Drill holes in the stands and add two u-shaped bolts. Make sure your pipe is straight so that water flows back to the reservoir with the aid of gravity.
Add the black irrigation pipe to the outer bucket’s elbow and put it inside the overflow PVC pipe.
Sort the inlet drippers. Use black irrigation pipe and then cut it to size. Make holes in the irrigation pipe using tools for mounting the nipples into the pipe. Also, cut the dripper pipe to length and join it to the nipple. Mount the irrigation pipe to the pellets/ stands/ benches using screws.
Add the elbow to the side of the pump and connect it to the pump. At this point, the pump is ready and you can run it and you can put it in the water reservoir.
Add growing medium to the inner bucket to test if the system works. It would be best if you add a filter such as a cheesecloth or a filter bag to the overflow since there could be likelihoods of the growing medium blocking the drippers.
The final product is a properly running hydroponic bucket system. You can add plants of your choice. You can also adjust and add a timer if needed.
Best Crops To Grow In A Hydroponic Bucket System At Home
Beans, cucumbers, tomatoes, hops, squash, eggplants and peppers do extremely well in a hydroponics bucket system. The seedlings of these plants are grown in rock wool and when the plants are 10 inches tall, they are transplanted in a Dutch or Bato bucket.
Where To Buy A Hydroponic Bucket System
A hydroponic bucket system can be purchased on Amazon. The systems cost as low as $150 and each Dutch bucket costs $2 depending on the type and size.
Hydroponic Bucket Kit
A Hydroponic bucket kit can be purchased on Amazon and the components in the kit are Dutch buckets, lids, siphon elbows, 4-inch net pots, hydroponic, 11L, 12 inches by 10 inches by 9 inches 10-pack that is black.
FAQs – Hydroponic Bucket System
Thanks to the use of a standard 5-gallon bucket, the Dutch Bucket System is ideal for growing plants with larger roots. Tomatoes, cucumbers, bell peppers, as well as eggplant, and zucchini are some of the best vegetables you can grow.
It’s recommended to leave approximately one foot between Dutch buckets. This space allows for airflow to help prevent mold from growing on your plants. It also allows enough room for plants to grow without getting intertwined.